mad is returning from a long hiatus with a short explanation and a follow-up on one of our little mad projects. The good news is that mad is still here, still in the maison d’etre (oh no, bad international puns), and still working. We’ve thought of our little blog and our faithful readers many times, but we simply fell off the mad maison wagon for a bit. Part of it was my employment situation–I (denise) left my job at one technology company and found a great job at another (better) technology company. In truth, however, that’s not the only reason. While I won’t say that mad stopped working on the house completely over the last few months, we definitely slowed down significantly. Call it a break, call it a little home repair burnout, mike and I needed to catch our breath for a bit. With a new year, of course, come new resolutions and new convictions. We’re back to repairing plaster, spackling, and working on our little projects.
As you may recall from this post, I wanted to make an old lamp I found in the house a little more mad. I’m happy to report that the project is complete (after spending a few too many months in our garage). It’s still old, it’s still funky, but it’s much more to our liking:
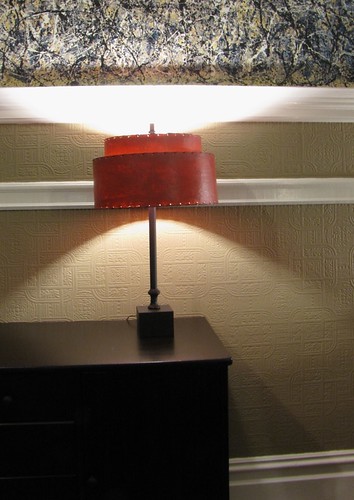
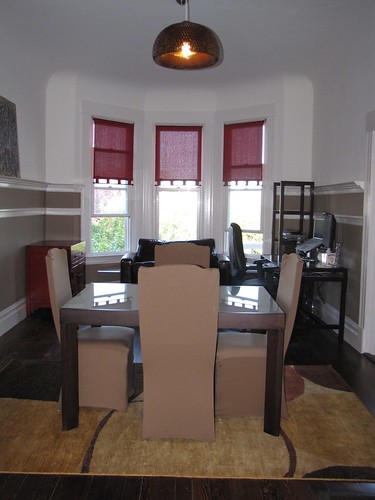
a little lamp project (after)
And for those of you who would like a reminder of what it looked like before:
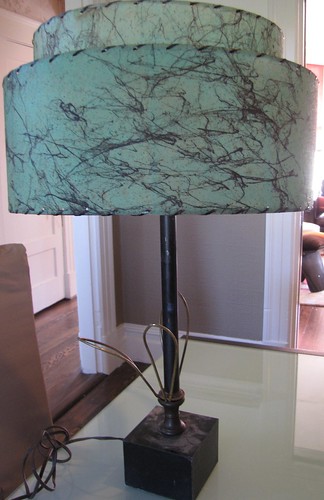
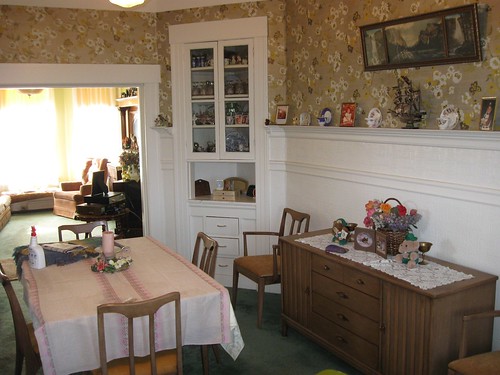
my little lamp project (before)
Thanks to those of you who have patiently waited for our return; we plan to reward you in 2011 with more frequent posts about our ongoing adventures!